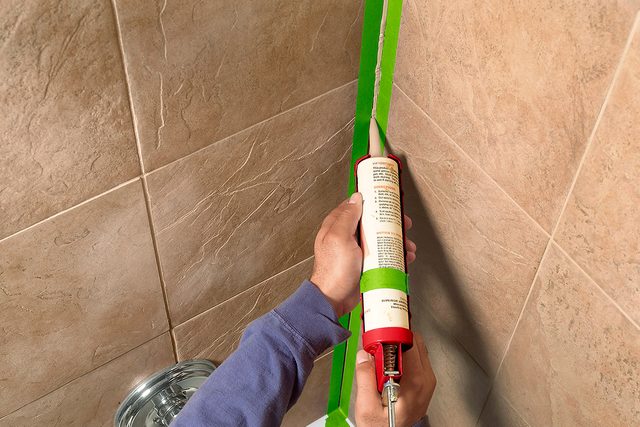
Make your bathroom look fresh and new again. Read on to learn how to caulk a shower or tub.
Introduction
Sooner or later, mold always shows up in bathroom caulking. This article explains how to clean the old caulk out and then recaulk around a shower or tub.
For a Visual Walkthrough of How to Caulk a Shower Bathtub, Watch this Video:
Tools Required
- Caulk gun
- Oscillating tool
- Putty knife
- Rags
- Razor scraper
- Utility knife
Materials Required
- Caulk containing mold and mildew prevention additives
- Caulk remover
- Masking tape
- Mineral spirits
- Paper towels
Project step-by-step (7)
Step 1
Cut and peel the old caulk
- Slice through the caulk along the walls with a utility knife or with an oscillating tool equipped with a flexible scraper blade.
- Then use your knife or tool to scrape along the tub or shower floor.

Step 2
Loosen and remove the remaining caulk.
- Squirt caulk remover on all the remaining caulk and let it do the hard work.
- Then scrape off all the old caulk with a razor scraper.
- Wipe with a rag.

Step 3
Clean the Bare Tiles and Grout
- Once the old caulk is gone, remove any loose grout between the walls and the tub or shower floor.
- Treat any mold in the grout along the wall/tub gap with a mold-killing product.
- Scrub the grout and then rinse off the mold killer with water and let it dry.
- Use a hair dryer to speed the drying.
- Clean the surfaces one last time with mineral spirits. Let dry.
Step 4
Mask the gap
- Mask the wall corner gaps first.
- Start by finding the largest gap between the tub/shower and the walls. That gap dictates how far apart you must space the two rows of tape.
- Then apply tape to the walls above the tub or shower floor.
- Finish by applying tape to the tub or shower floor.

Step 5
Cut, push and apply
- Cut the nozzle tip to match the gap width.
- Hold the gun at a 90-degree angle to the gap and push a bead of caulk slightly ahead of the nozzle as you push the gun forward and continue applying pressure.
- Apply only enough caulk to fill the gap.
- Our experts prefer cutting the caulk tube nozzle at a blunt 20-degree angle, instead of 45 degrees. And they hold the gun at a 90-degree angle to the gap while pushing a small bead ahead of the tip.

Step 6
Tool with your finger
- Wet your finger with water and start at an outer corner.
- Wipe your finger across the caulk to create a rounded bead and remove excess caulk from the gap.

Step 7
Peel off the tape
- Lift a corner of the tape along the tub and pull it off at a steep angle while the caulk is still wet.
- Then remove the tape along the wall.
- Remove the tape from the wall corners last.
- Remove the tape while the caulk is still wet.


